LAST CLASS!

This one is based precisely in dichromate combined with gum. Gum being the original gum, not the resulted processes we commonly know.
So gum has it’s origin in trees, we could almost say that trees sweat gum, as they produce this kinda oily and thick substance that is not soluble in oils or alcool but that you can easely wash out with water. Gum Arabic is a mucilage that is the most common form of this, and was widely used ancient times as glue, as coating for ceramic and fabric and was and still is also used for this photographic process.
This process is done in layers in the majority of times, with watercolor (always in the same color). If you desire just one layer you can go with gouache.
The thing with the ink is that the gum itself has no color, so you mix it with the pigment and when exposed to light it hardens and so fixes the other element added. This is the reason why you can pretty much do it in any color you like (just not black, since it sticks to har in the areas were it is supposed to wash of).
Origin
So apparently, like almost everything in photography, a lot of people came up with the same conclusions and ideia that gave birth to this process.
Let’s just list them, shall we? I’m feeling impatient today
- Loius- Nicolas Vauquelin (1763 – 1829) was a French chemist that in the lates 1700 documented the sensitivity of these materials to light, being the first to do so.
- Mungo Ponton (1801 – 1880) a Scotish in 1839 discovered that dichromate salts were sensitive to ultraviolet light, and using sodium dichromate and a colloid acctually managed to print a photography!
- Henry Fox Talbot (our old acquaintace) in 1854 also just documented during experiments that arabic gum and gelatin became unsoluble when exposed to light
- John Pouncy (1818 – 1894) in 1858 started using color pigments (ink) to produce photographies.
Recipe time!
Ingredients:
- Canson acrylic A3 paper 400gr (specifically because of the fibers and sizing of this paper, that allow it to spread ink evenly without blurs)
- Guache
- Brush
- Tap water
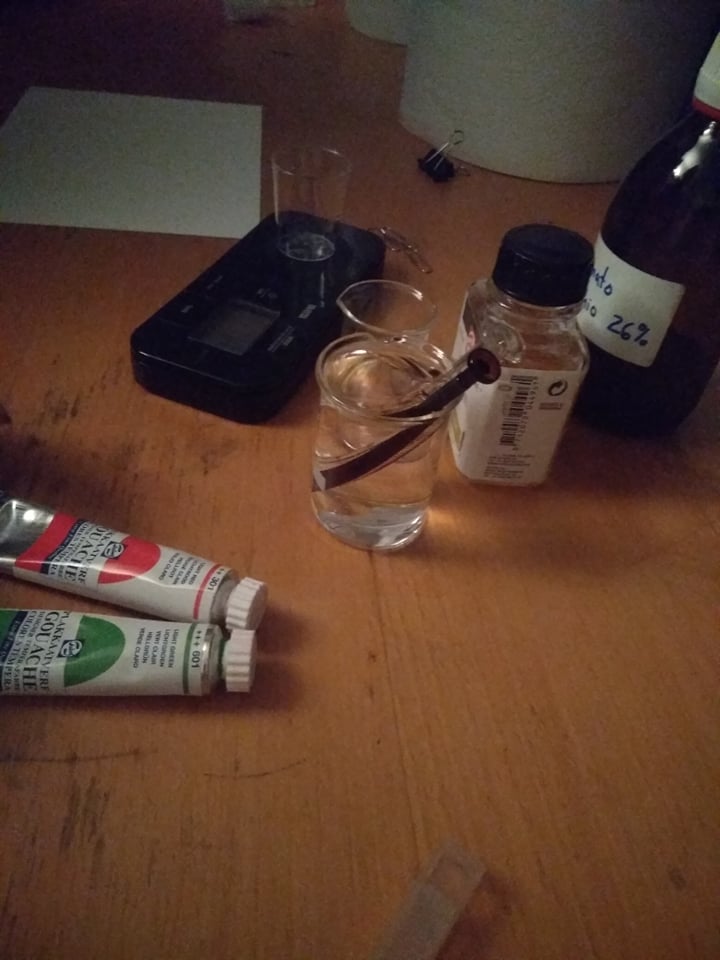
Solution:
- 0,6gr pigment
- 0,4 ml Arabic Gum
- 0,5 L distilled water
- 0,32 ml ammonium dichromate (26%)
Recipe:
1st mix the ingredients for the solution in a glass recipient and stir it also with a glass object (use a candle for light)
2nd cut the canson paper into whatever size you like
3rd put the solution on a paper with the brush, softly not to leave marks and fast enough so the gum doesn’t start to dry out by itself (use a candle for light)
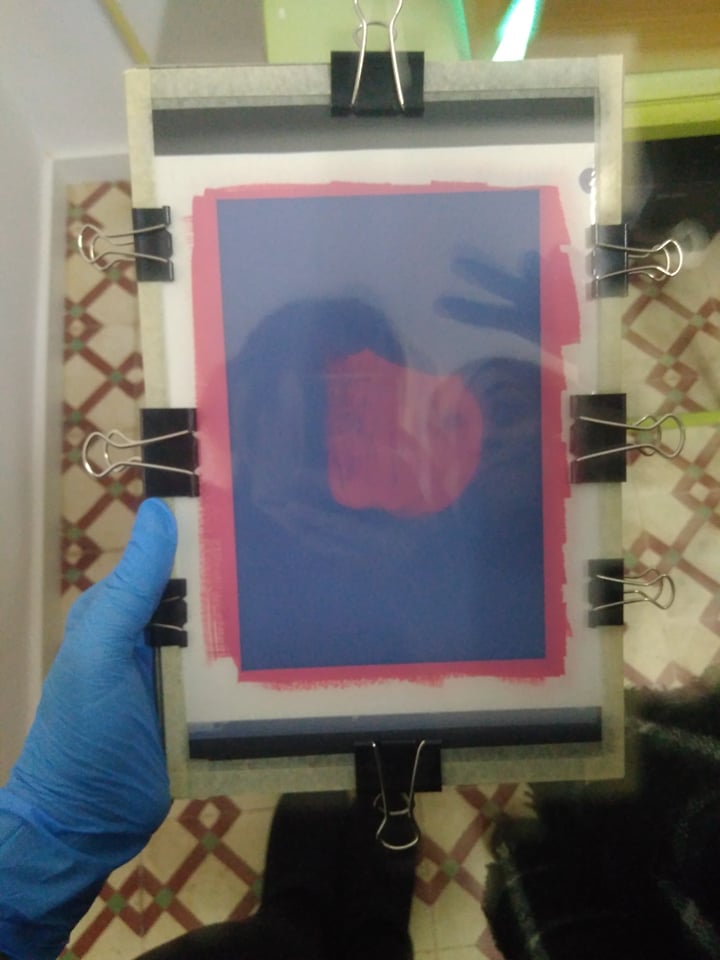
4th let it dry out a bit and then prepare your negative/object and your press
5th expose it to light for 4 minutes
6th take it out of the light and the press, and put in water
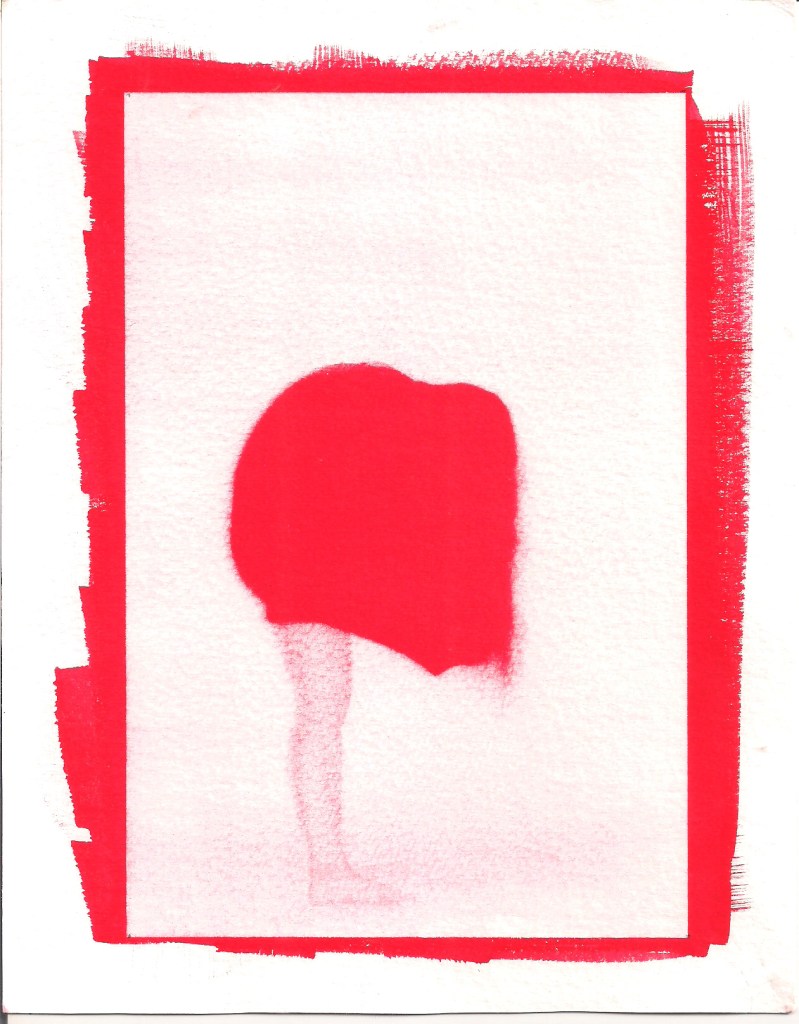
I changed my water several times (being careful not to let the pressure of the water touch my paper), almost every 10 minutes for the first hour. And then let it stay in water for 24 hours, and then ran it under falling water so it woul speed up the process a bit.
And also keep in mind that when you take it out of the press you don’t see any image, don’t be frighten, it is there, under all that ink.
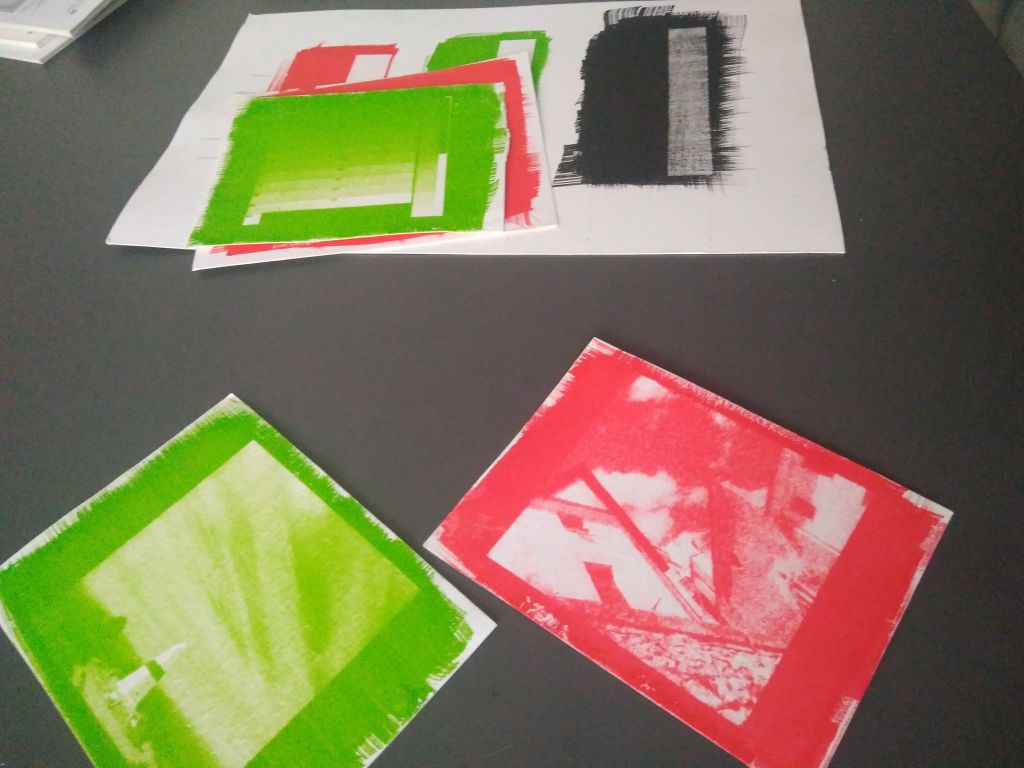
And vólia! The unexposed areas are gone and it looks like a paiting.
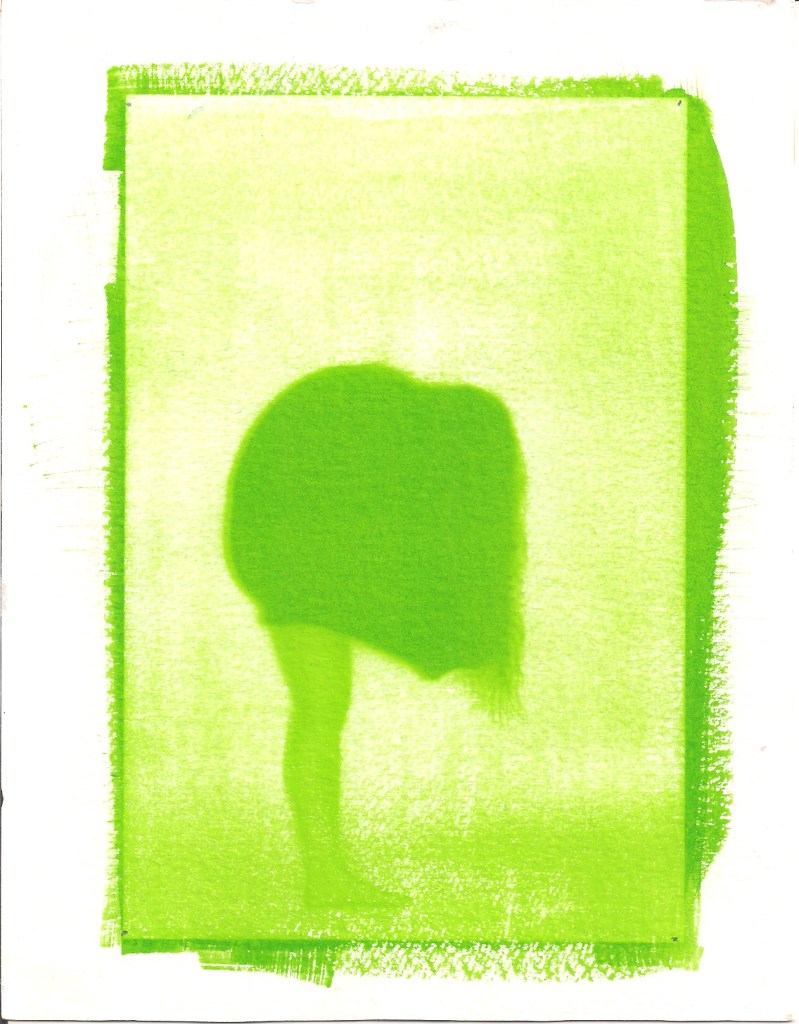
Also it was fun to make because although i was the one that took this picture, the one that is in it is acctually my colleague (the one on the reflection on the last one) so they are now souvenirs for us!
I hope you enjoyed my “journal” of my classes. I had a lot of fun experimenting these and hope i can push someone else into doing so to.
Also hope i get better at this and get the chance to write some more (outside of classes of course, they are over now) about some other cool processes i heard about in here.
Wish me luck, beacuse i wish you to all the luck too in experimenting these! We all need it very badly!
References
Giorgi, F. (2009, October 12). Alternativa Fotográfica. Researched in December 14th, 2019 in: https://alternativafotografica.wordpress.com/2009/10/12/goma-bicromatada/
King, T. (2011, May 5). Introduction to the gum bichromate process. Researched in December 14th, 2019 em: https://blog.scienceandmediamuseum.org.uk/introduction-gum-bichromate-printing/
Paris Photo (s.d.). A visual glossary of photographic techniques. Researched in December 15th, 2019: https://www.parisphoto.com/en/Glossary/Gum-bichromate-print/
