We start almost chronologicaly. Salted paper is the begining of photographic printing.
Henry Fox Talbot’s photogenic drawings
In it’s origin we cannot forget about Henry Fox Talbot that used this process in his photogenic drawings. So let’s take a stroll into the past, shall we?
Fox-Talbot is said to have begun his research into light sensitive paper because of his inability to draw, even with the help of a camera lucida and camera obscura.
“How charming it would be if it were possible to cause these natural images to imprint themselves durably, and remain fixed upon the paper.”
“And why should it not be possible?”
Henry Fox-Talbot
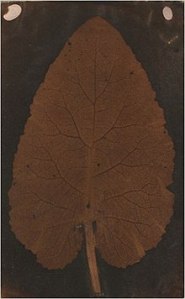
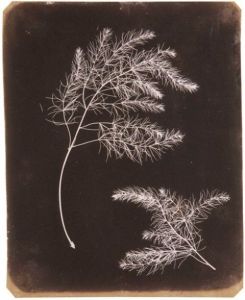
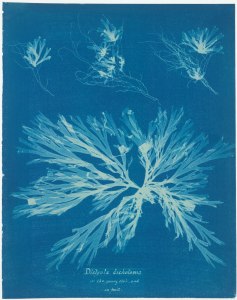
In January 1834, Talbot was home at about eighty-five miles west of London. He began to experiment with the idea and soon found that a sheet of fine writing paper, coated with salt and brushed with a solution of silver nitrate, darkened in the sun, and that a second coating of salt impeded further darkening or fading. Talbot used this discovery to make precise tracings of botanical specimens: he set a pressed leaf or plant on a piece of sensitized paper, covered it with a sheet of glass, and set it in the sun. Wherever the light struck, the paper darkened, but wherever the plant blocked the light, it remained white. He called his new discovery “the art of photogenic drawing.”
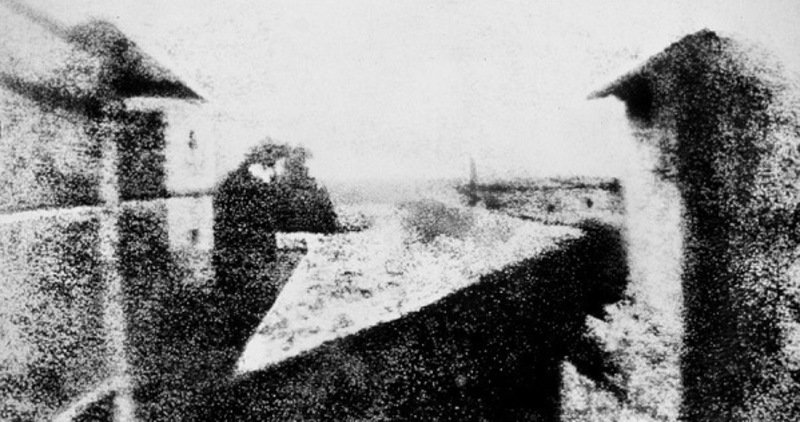
As his chemistry improved, Talbot returned to his original idea of photographic images made in a camera. During the “brilliant summer of 1835,” he took full advantage of the unusually abundant sunshine and placed pieces of silver iodided drawing paper in miniature cameras— “mouse traps,” his wife called them—set around the grounds to record the silhouette of Lacock Abbey’s animated roofline and trees.
(If you like history I strongly advise reading Malcom Daniel’s version, read it on the MetMuseum website linked below, written in October 2004, I fell in love with the story there, and it is quite a short version)
My photogenic drawing
The paper used int his process was thick enough to sustain the chemicals but not very white, for one very important reason: Usually paper who are truly white have whiteners like ammonia who will interfere with the chemicals used, ruining your master piece.
The first fase of the process was literally, salting. So we added 8gr of gelatine slowly and while agitating it into 1000 ml of destiled water. And let it rest for 10-15 minutes so it swallows. Meanwhile preparing 20 mg of Amonia Clorite (wich will give a darker brown tone to the final image but will also accelerate the exposure time, making it faster) and 10g of Sodium Citrate (Sodium=salt).
After the gellow is ready and dissolved, we had the Amonia Clorite and Sodium Citrate so they can impregnate the gellow and put the whole container in a warm water bath. Don’t ever try to speed this up by directly warming this in fire, itt will warm up to fast, ruin the gelatine that should be keept between 35-45º C. The gellow should be liquid at this point, so you can use it on your paper.
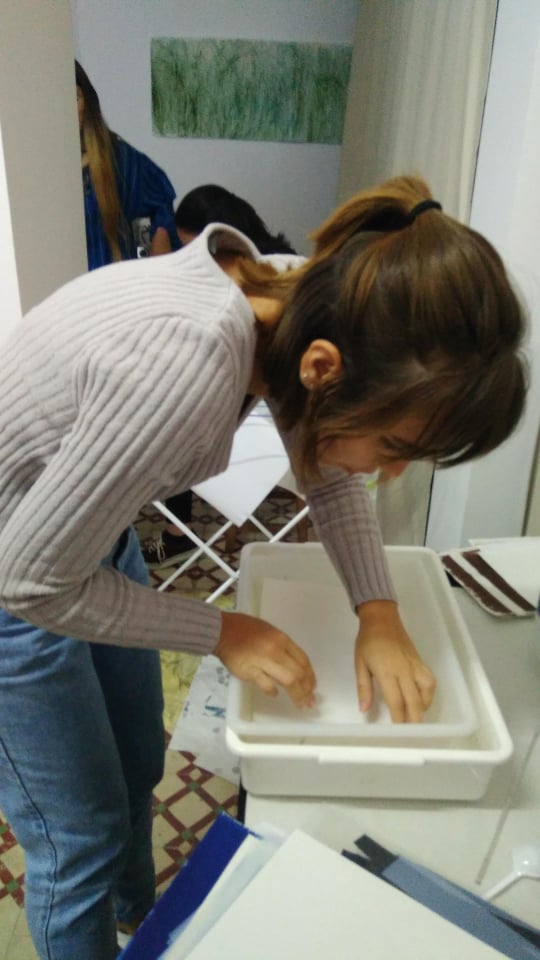
Putting the paper inside the gellow is also not so easy as you might think.
First: We have to know what side will have the salt after it’s dry so we mark it.
Second: the paper has to float and we can’t have bubbles in the right side or solution on the wrong one.
So, this is how we did it: Folded two corners of the paper in a specific way (to mark it and make it easier to grab) and put it in the water, first the middle and then the edges, to drag any bubbles in the gellow surface to the corners. Slowly of course, and just getting one of the sides wet.
Then we dried the papers avoiding putting it in contact with anything else, so we don’t screw the gelatine surface. Turned the paper around once while drying to have a uniformed surface and then speed up the drying with a hair dryer.
The second part of the process will transform the salted surface ultraviolet light sensitive. So we had to do this part in a dark lab under yellow light and no humidity (because this last one will grab to the paper and gellow and ruin the image, giving it a look as if you litteraly dropped water on top of it).
We used a non metal (non metal=wood) pencil so it wouldn’t react with the silver (wich is also a metal). And spread Silver Nitrate at 12% concentration (between 1,5-2ml is a generous amount) around the paper carefully and in an homogenic way. We let it dry again and again, used hair dryer to give it a final blow.
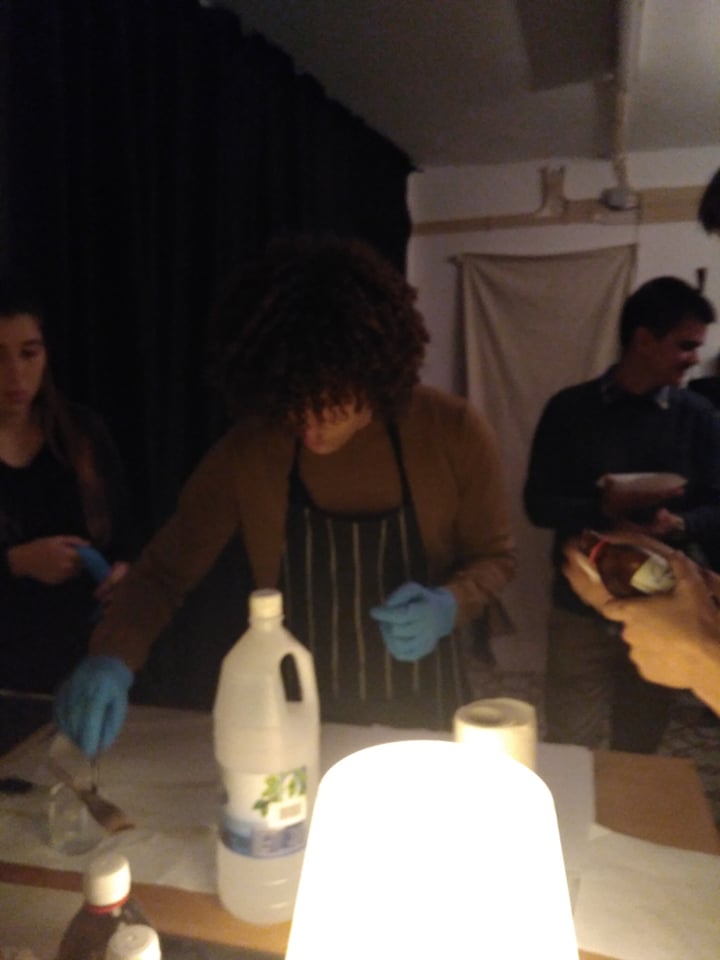
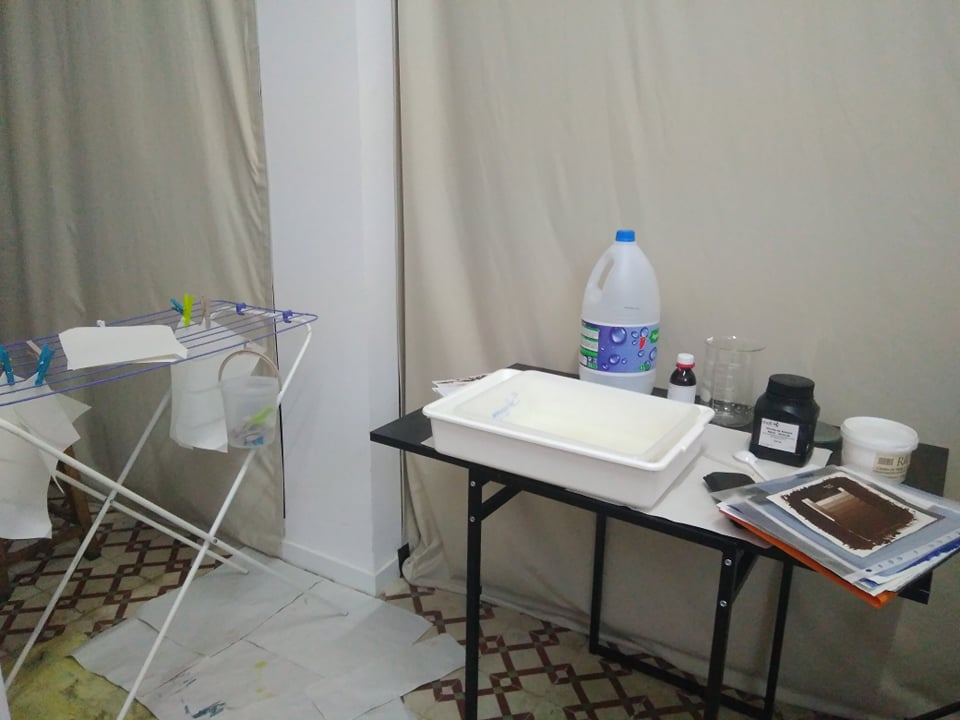
Image 3 – This is Hugo carefully putting the silver on his paper under low yellow light conditions 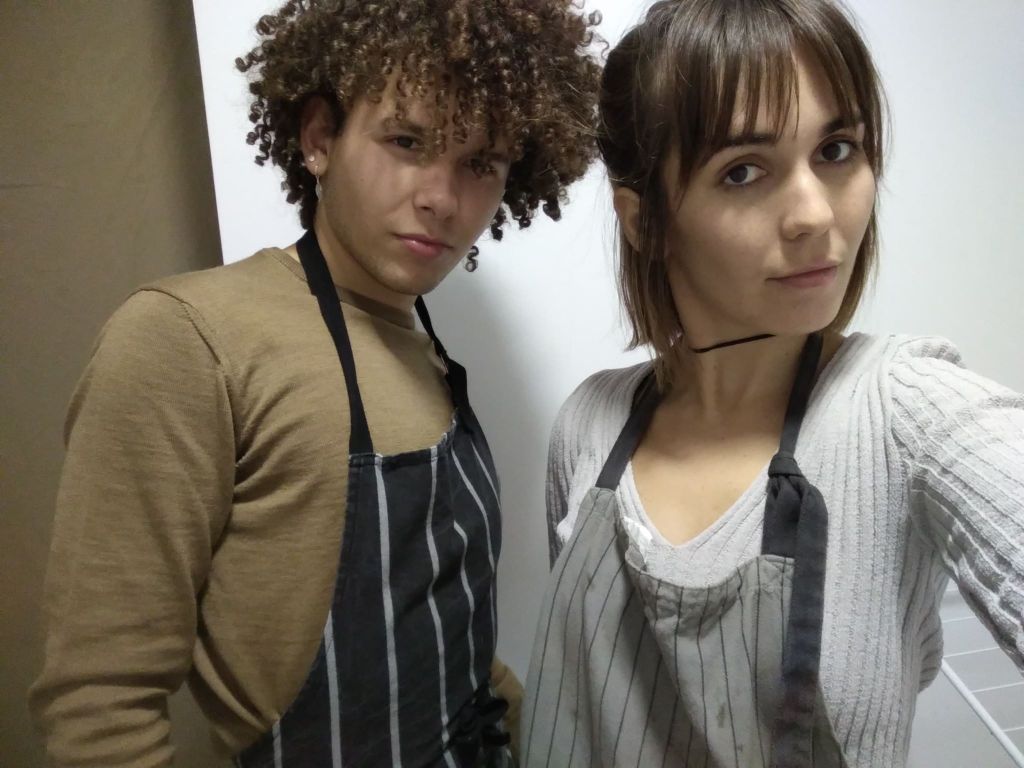
Image 4 – Us, for fun, while waiting for everything to dry and be ready
Once you are sure it is completely dry put it in between foam, glass and hold it with binders, just like a lumen and just add the negative to the sandwich (with the printed/inked/darker part facing the emulsion on the paper) and we exposed it during 20 minutes in a light box with ultraviolet light.
And Voilá! You have an image. Now, don’t let it fade away.
We go back to the lab and put it in the respective chemicals:
- Tap Water (to wash off the excessive silver nitrate that is not needed nor exposed, during 10 minutes and changing the water regularly and not running it on top of the image, it is very sensitive);
- Fixer (to finish what water started in a permanent way, removing the silver cristals that were not exposed to light from the paper, this way, the white will remain white, because in that area there will be no more cristals, just paper. Do it for about 4 minutes) + 2/3g of Sodium Carbonate to stabilize the pH;
- Tap water again (to wash off the fixator);
- Sodium Sulfite (to make sure there is no fixator left, for about 5 minutes);
- And just a final wash with tap water for 30 minutes and switching water every 5 minutes.
And now your image is not going anywhere.
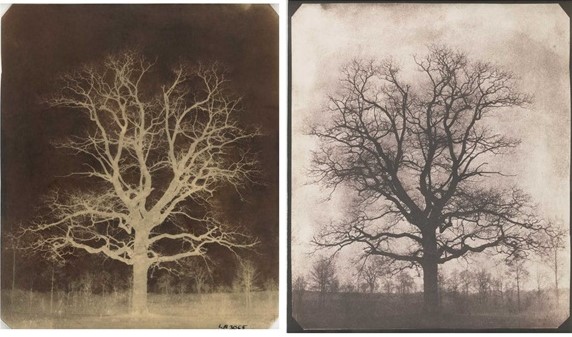
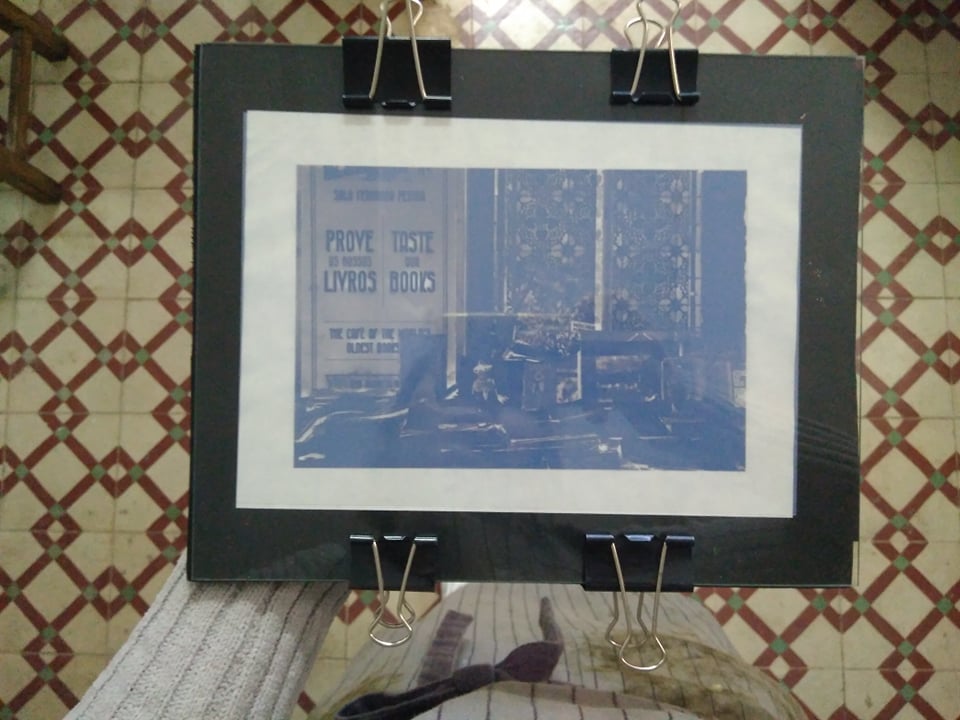
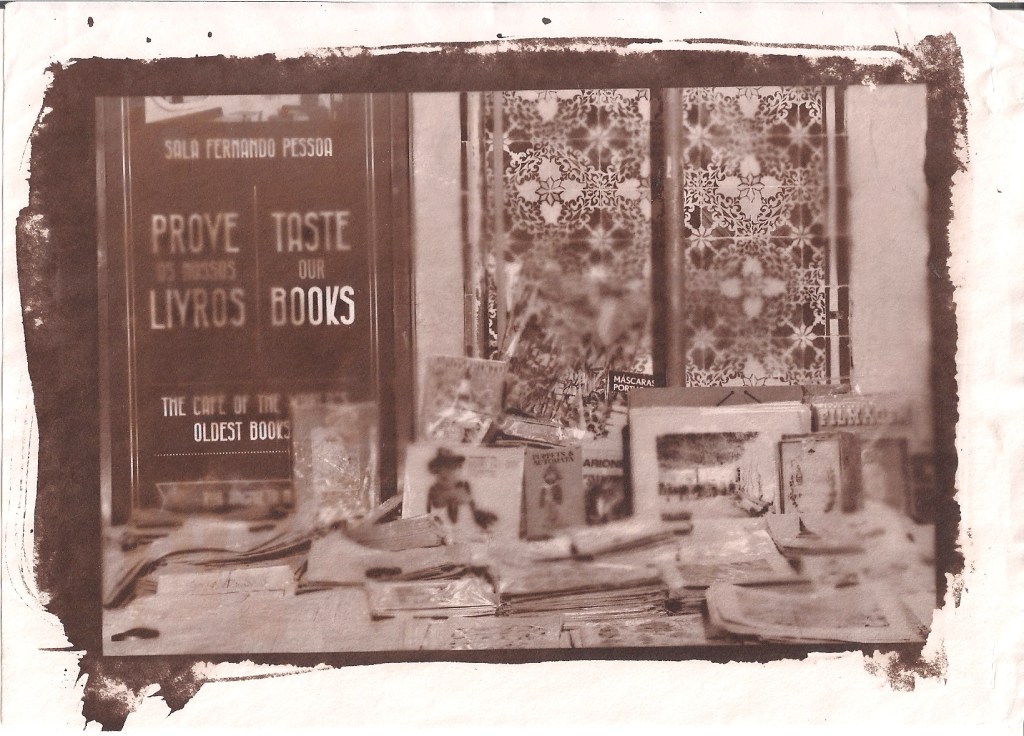
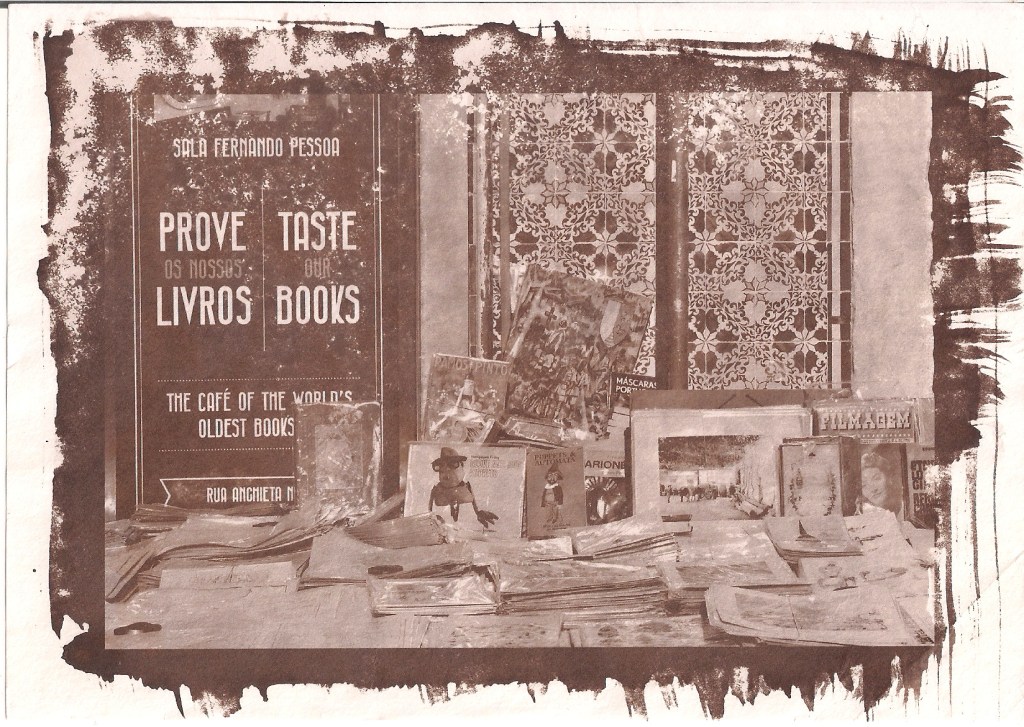
So, I’m impatient, right? I managed to screw up my salted paper print. Apparently I didn’t press the negative well enough against the paper, so it seems out of focus, or diluted. And you can see the difference in my image, the first one, a test the teacher used as an exemple in class and mine next to it. Shame on me. Still, it was fun and I enjoyed the picture I choose in this specific process, it has that old, very vintage look. I’ll just have to embrace the blurr. Despite this, I did achieve the contrast I wanted and I like my brushmarks around the image, so it was a shame to ruin it.
Also, embraced the brown stains in my hands that wouldn’t come of for days, because I touched the chemicals without putting gloves on. Don’t be like me, use nitrile disposable gloves when you touch chemicals.
References
Malcolm, D. (2004, October). William Henry Fox Talbot (1800–1877) and the Invention of Photography. Researched in November 5th, 2019 in: https://www.metmuseum.org/toah/hd/tlbt/hd_tlbt.htm
Harvard University. (s.d.). Salt Prints at Harvard.
Researched in November 3rd, 2019 in: https://projects.iq.harvard.edu/saltprintsatharvard/photogenic-drawing
Rice, C. (2019, July). Historical Processes: The Salted Paper Print. Researched in November 3rd, 2019 in: https://www.bhphotovideo.com/explora/photography/features/historical-processes-the-salted-paper-print