Lumen Prints
Now, for the second recipe:
A lumen print is a solar photogram – an image created on photographic paper, exposed by the sun. It was one of the first photographic processes. I was kind of impressed by this, as it’s end result is an impression of our world, as is, but also, as the last one, with the colors reversed.
Required materials for lumens:
- An old photo phrame (whatever size we want for our prints
- Any kind of foam type material (i bough a black foam on a corner shop)
- Large binder clips (from my desk at home)
- Photossensitive paper (in my case photographic revelation paper, beacause i tis easier than make my own)
- Object (i had flowers, feathers, fruit, chalk and a piece of round unknown grided metal)
Preparation:
Open up the phrame, separate the glass from the wood in the back and take the acttual frame of. Cut and glue the foam type material into the wood piece and let it dry. You’re set!
Process:
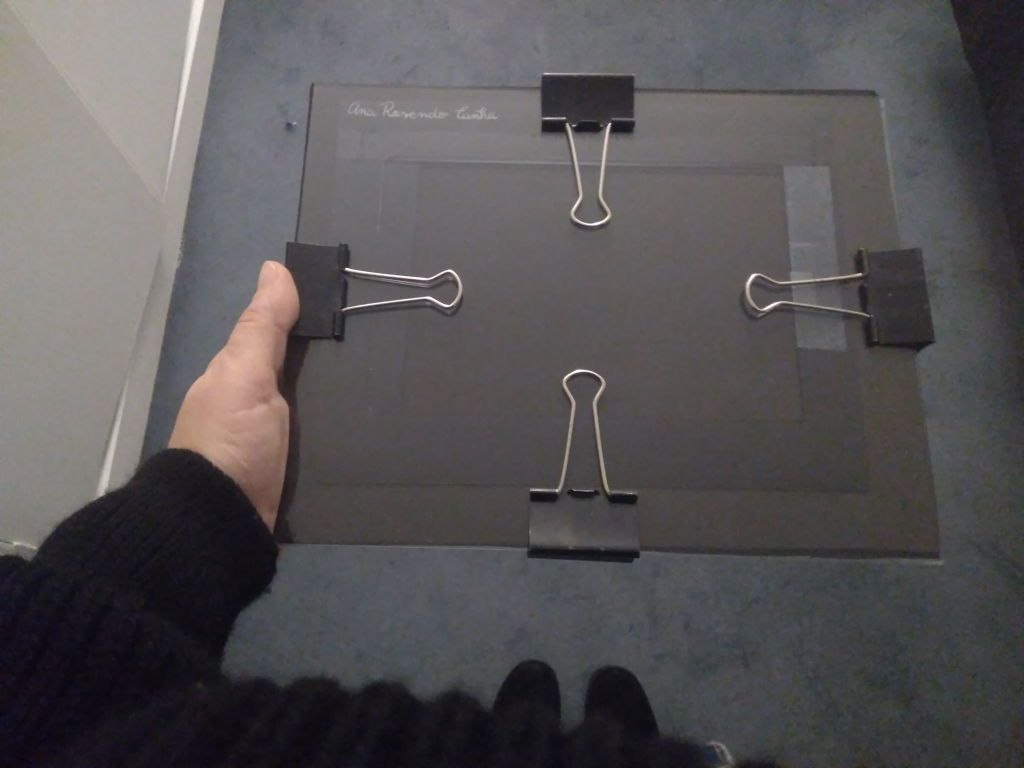
What we do is to put the photosensitive paper on top of the foam, and place a semi-flat object on top of it, after that, put the glass on top of it all and use de binders to clip the images together. As shown in the image.
Attention: the only precaution in this process is that, as soon as the photosensitive paper box is open, IT IS EXPOSING. So, if we want to keep our material safe, we have to close the box and save it away from the light imidiately (a drawer will do just fine). So now your lumen is already exposing, you can inhance that exposure and make it faster by putting it under direct sunlight. And just appreciate the evolution of your lumen. Whenever you see that it is enough light, you can retrieve it.
Although, before you take of the object and open the arrangement, keep in mind that the image is not fixated, so if you take of the objects the parts that were hidden, will slowly change colors and the image will start to dissapear. So, you need the chemicals to fix it.
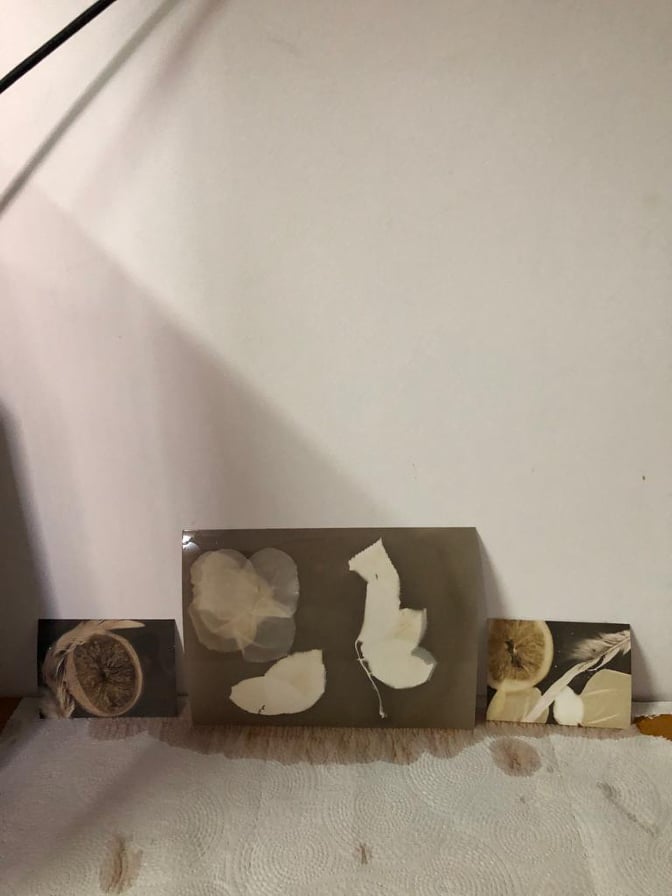
What just amazed me is that, the colors are reversed. Meaning that the parts that were exposed to sunlight are darker, and the ones that were not, are whiter (opposite of what we are used to see). Lumens do not usually produce collored images, although some materials like flowers and fruits, if not dry, their natural juice will give diferente tones to the paper (and they are not going to be the ones expected!). So these objects are always a great surprise in the final results of your lumens.
So the fixing of the image to the light sensitive paper was afterwards made with the help of the teacher, who prepared all sorts of containers with diferente chemicals with diferente applications and alowed us to “play” with them to see the effect that they have on the final colors.
The chemicals and their effect were:
- Gold (turned the darker areas into black)
- Sulphur (lightened the tones creating a sepia effect)
- Selenium
The truth is that my lumens were a complete disaster! I am impatient by nature and i regret letting that interfeer with what i was trying to do. Basically i kept peeking and cheking it out and moving objects on top of what i already did…
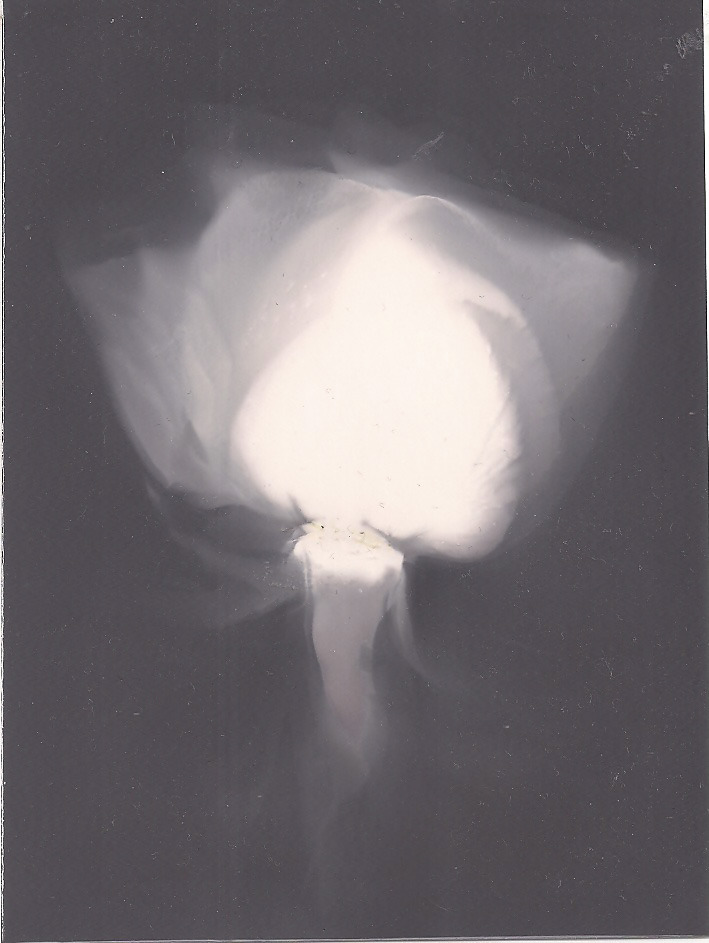
My best lumen (by far) is the simplest one i tried to make. There was a lost rose flower in the table that no one wanted to use, since the petals where drying already. I just put it on top of the paper and didn’t press it flat completely (becuse I couldn’t). And before I had the chance to ruin this lumen with my impatience as usual, the teacher came in my rescue and advised me to let it expose for a whole week. So I just left it there, in her care. And it turned out amazing. The areas where the flower wasn’t in complete contact with the paper had a lighter tone that gave depth do my image, instead of the flat ones I did before.
There is another one wich is one of my favourites, wich a group colleague of mine produced with lemons that, because of the juice they release, gave COLOR to the lumen. So it was originally very redish and pinkish when we saw it (before we put it inside chemicals that altered it).
References
Captured Shadows. (s.d.). Photograms: Art and Design. Researched in October 20th, 2019 in: http://www.photograms.org/
The Met Museum. (s.d.). Rayograph 1922. Researched in October 20th, 2019 in: https://www.metmuseum.org/art/collection/search/265487
