This class was not exciting but it was quite necessary. So pretty much we just learned how to digitally produce negatives to be able to print images (not only using film negatives, wich come out of the camera already produced, but using images from digital cameras, that go straight into a computer). This way i can print images i already had and loved!
This is made with specific paper (Pictorico Pro) and with a printer with ink jet (NOT LASER, you don’t want to melt it). But then we prepare each image chosen to a different process using different curves settings. This because not all processes are the same amplitude density (i mean, the difference between the most transparent and most dense part of the negative and also the way that the tones are distributed) or have the same ability to reproduce detail, hence the need for a specific curve. So we are trying to get the best out of every image.
First: LAYER – NEW AJUSTMENT LAYER – CHANNEL MIXER – here turn the image into monochrome and work with the channels adjusting tones. Keeping the light in the image close to the number 100 in the bottom, so you have the same luminosity in the image, despite changing the colors.
Second: LEVELS (adjust levels in high light and low light in the histogram showed. If having any doubts press the tab in the corner and press ALT at the same time, even if you move the mark around, you will see the areas in your image that are loosing info or not. And Try to keep the whole image with digital information, so you have a lot to work on)
Third: CURVES (just ajust the image to your liking)
Fourth: Select the image and not a layer – FILTER – SHARPEN – UNSHARP MASK (and move the itens around so you can see how they work and how you want the detail in your image)
Fifth: Go up to your last layer again and create a new CURVES layer. This time, load in the corner the curve preset to the specific process your using, in LOAD CURVES PRESET (these presets can be found online, although our teacher gave us the ones we used)
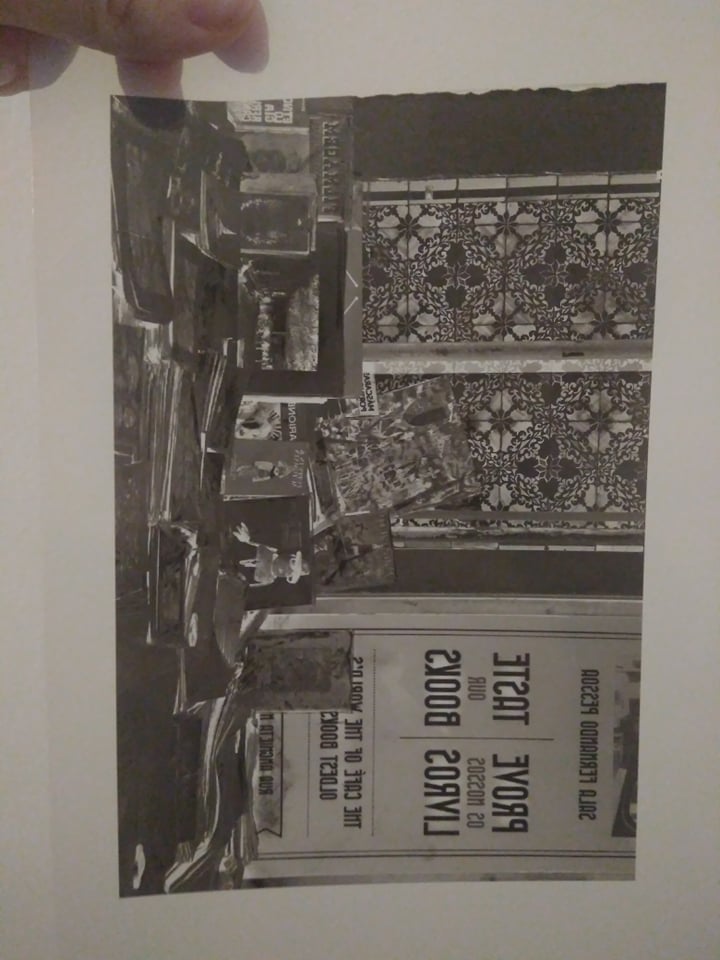
Once all of this is done, all we have left to do is invert the image into a negative and mirror it horizontaly so it is in the exact position we are going to use it.
Invert: CTRL + I or IMAGE – ADJUSTMENTS – INVERT or LAYER – NEW ADJUSTMENT LAYER – INVERT (this will make the black go white and vice versa, this way, when you use the negative, the area that is supposed to be black, happens when it is touched by light, so the negative part of that image is white, to let the light go through)
Mirroring: IMAGE – IMAGE ROTATION – FLIP CANVAS HORIZONTALY (beacause otherwise when printing in the photographic paper the image you took will be the other way around, weird right? Well, that’s how light works)
That was all, just practiced this a bunch of times until I got it right. And now I am just very curious to see how my pretty images will turn out after printing.
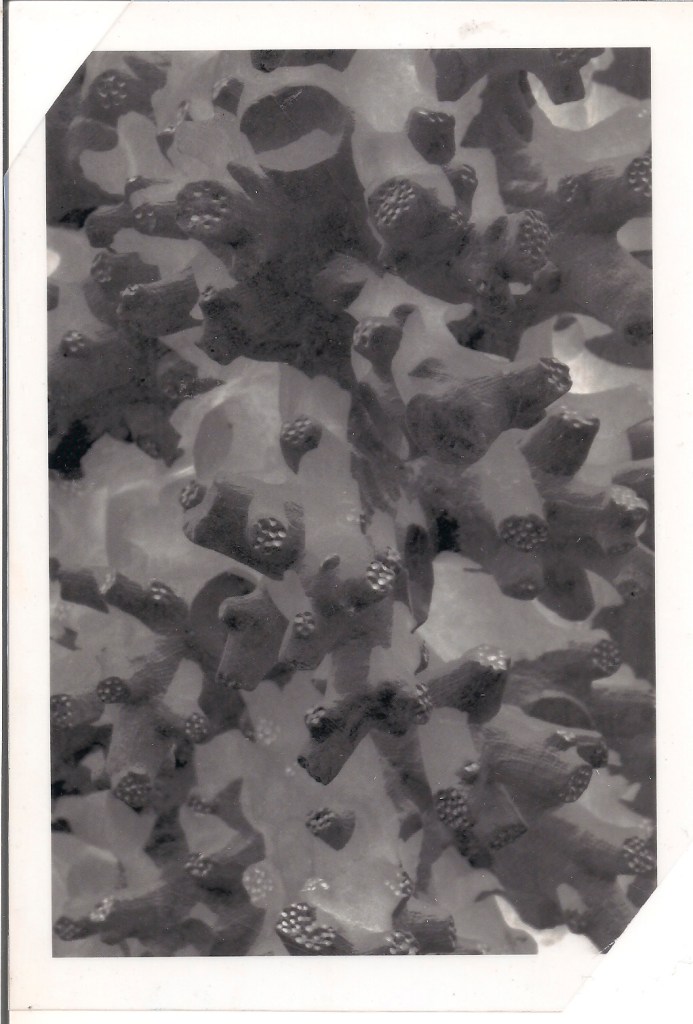
gum with two different pigments
